Why We White-Model Every Angle Before Adding Color
Lukas Berezowiec · CEO of NoTriangle Studio
Updated · 8 minutes
Key takeaways
Before any color, material, or light goes on, every camera angle in a project is rendered as a plain untextured model and sent to you to approve.
- What it is
- A white model is the geometry and the camera, and nothing else.
- Why first
- The cheap decisions have to come first: get the framing right while it is cheap, then spend the expensive hours.
- Your job
- You are not asked whether you like the image, only whether it is the right view.
- Animation
- The same logic runs through the animation: lock the moves in gray first.
There is a simple test for whether a rendering studio knows what it is doing, and it happens long before you see a finished image. A serious studio will send you a set of plain gray models first, with no color, no materials, and no lighting, and ask you to approve the camera angles on them. A studio that jumps straight to a polished, photorealistic image is telling you something about how it works, and it is not a good sign.
That gray-model step is called the white-model preview, and it is the least glamorous stage in the whole process. It is also the one that protects the most money. Below is what it actually does, why the order is not negotiable, and what we have watched go wrong on real projects when the step gets skipped.
What a White Model Actually Is
A white model, sometimes called a greybox or a grey render (see our glossary of rendering terms), is the building modeled in full but stripped of everything decorative. No color, no textures, no furniture, no sky, no lighting scheme. It is the geometry and the camera, and nothing else. We produce one for each proposed angle in the set and send them to you before a single material is applied.
The point of stripping the image down that far is that there is nothing to hide behind and nothing to be distracted by. Without a beautiful sunset and a styled interior pulling your eye, you can see the only things that matter at this stage: where the camera sits, how the building is proportioned, what the frame includes, and what it leaves out. Those are the decisions that are almost free to change now and ruinously expensive to change later. The white model exists to force them to the front of the project, where they cost nothing.
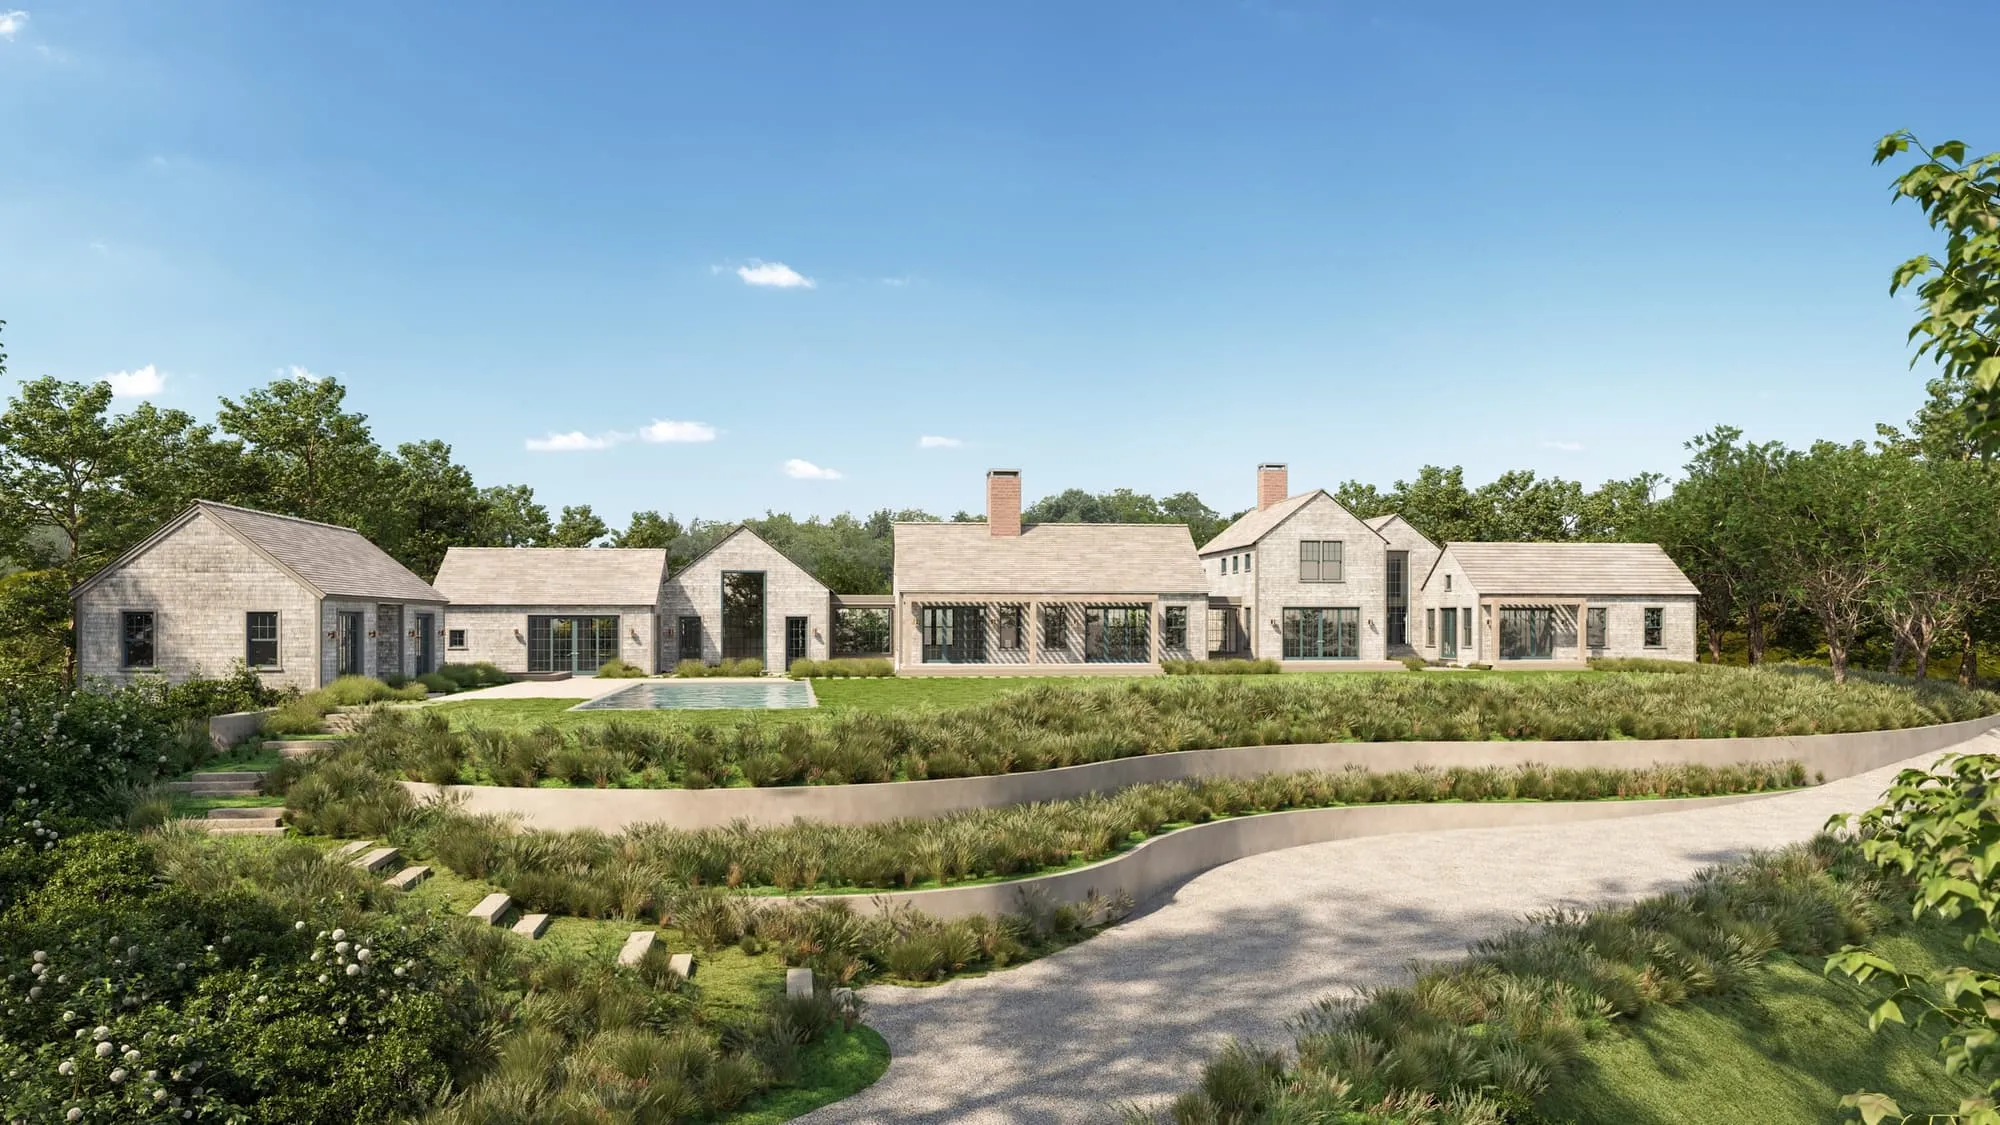
We run this step on essentially every project, and it is standard enough in the craft that experienced clients ask for it by name. On one home, the architect leading the project told us, before we had even proposed it, exactly how he wanted to work: we should send a white model with no finishes so his team could approve the exact view angle before we proceeded to finished material and lighting. On another, a marketing director wrote to confirm we had what we needed to produce a white-box model of the interiors before any colors were added. When the people who commission this work regularly are the ones insisting on the gray stage, that tells you it is not a formality. It is where they know the real decisions get made.
Why the Cheap Decisions Have to Come First
The reason the sequence is fixed comes down to where the time and money in a rendering actually go. Applying photorealistic materials, lighting, atmosphere, furniture, and all the small scene-building details is by far the most expensive part of producing an image. Modeling a gray box is quick. Making that box look like a real place at dusk is slow. So the order of operations is a financial decision before it is a creative one: you get the framing right while it is cheap, and only then spend the expensive hours making it beautiful.
There is a hard technical reason underneath this, not just a preference. Once color and light are applied, the camera and the lighting are effectively locked. On a resort-residence project we produced for a launch in Montego Bay, our producer put the boundary to the client plainly: at the color stage, we could no longer change the camera angle, and a daylight scene had to stay a daylight scene. Everything else, the finishes and the furniture, was still open across the revision rounds, but the frame itself was set. That is exactly why the white model has to be signed off first. If the angle turns out to be wrong, you discover it after the costliest work is already done, and the only fix is to throw that work away and start the expensive part over.
What We Are Really Asking You to Approve
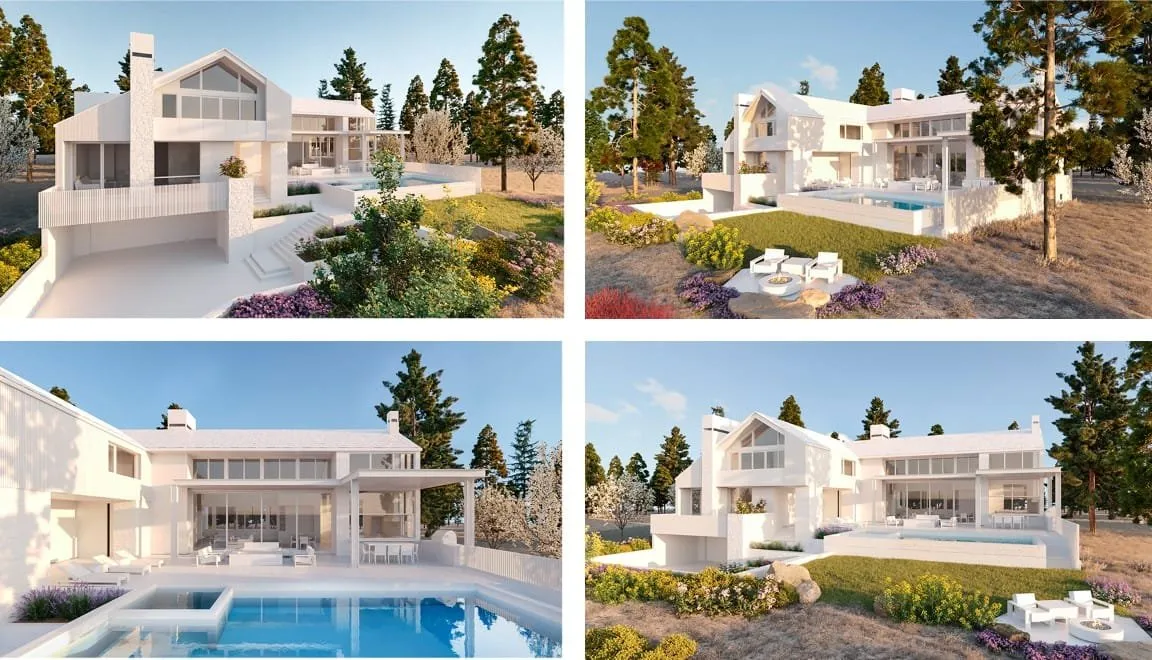
The white model changes what your job is at that moment in the project. You are not being asked whether you like the image, because there is nothing to like yet. You are being asked a narrower and more useful question: is this the right view. Is the camera high enough, is the building sitting the way it should in the frame, does this angle show the thing you most need a buyer to see. On a Solterra project, the camera angles were locked in white models before any furniture or finish went in, so that by the time the artists reached the beautiful part, the composition was already a settled fact rather than an open question.
This is also why we sometimes split a set. On one exterior project where we were confident about some framings and unsure about others, our producer told the client we would send white models only for the angles we were not sure about, and push the ones we were already confident on straight through to color. The white model is not bureaucracy for its own sake. It is used precisely where a camera decision is still genuinely open, so your review time goes to the choices that actually need you.
What It Looks Like When a Studio Skips It
Skipping the white model is tempting under deadline pressure, because it feels faster to go straight to a finished picture. It is faster right up until the angle is wrong. We have seen this from both sides. On a rush job, one client told us there was no time for white-model previews and asked us to just send the cameras and go. That is the gate coming off, and it is a gamble the client is choosing to take with their eyes open, on the understanding that a late framing change will be costly.
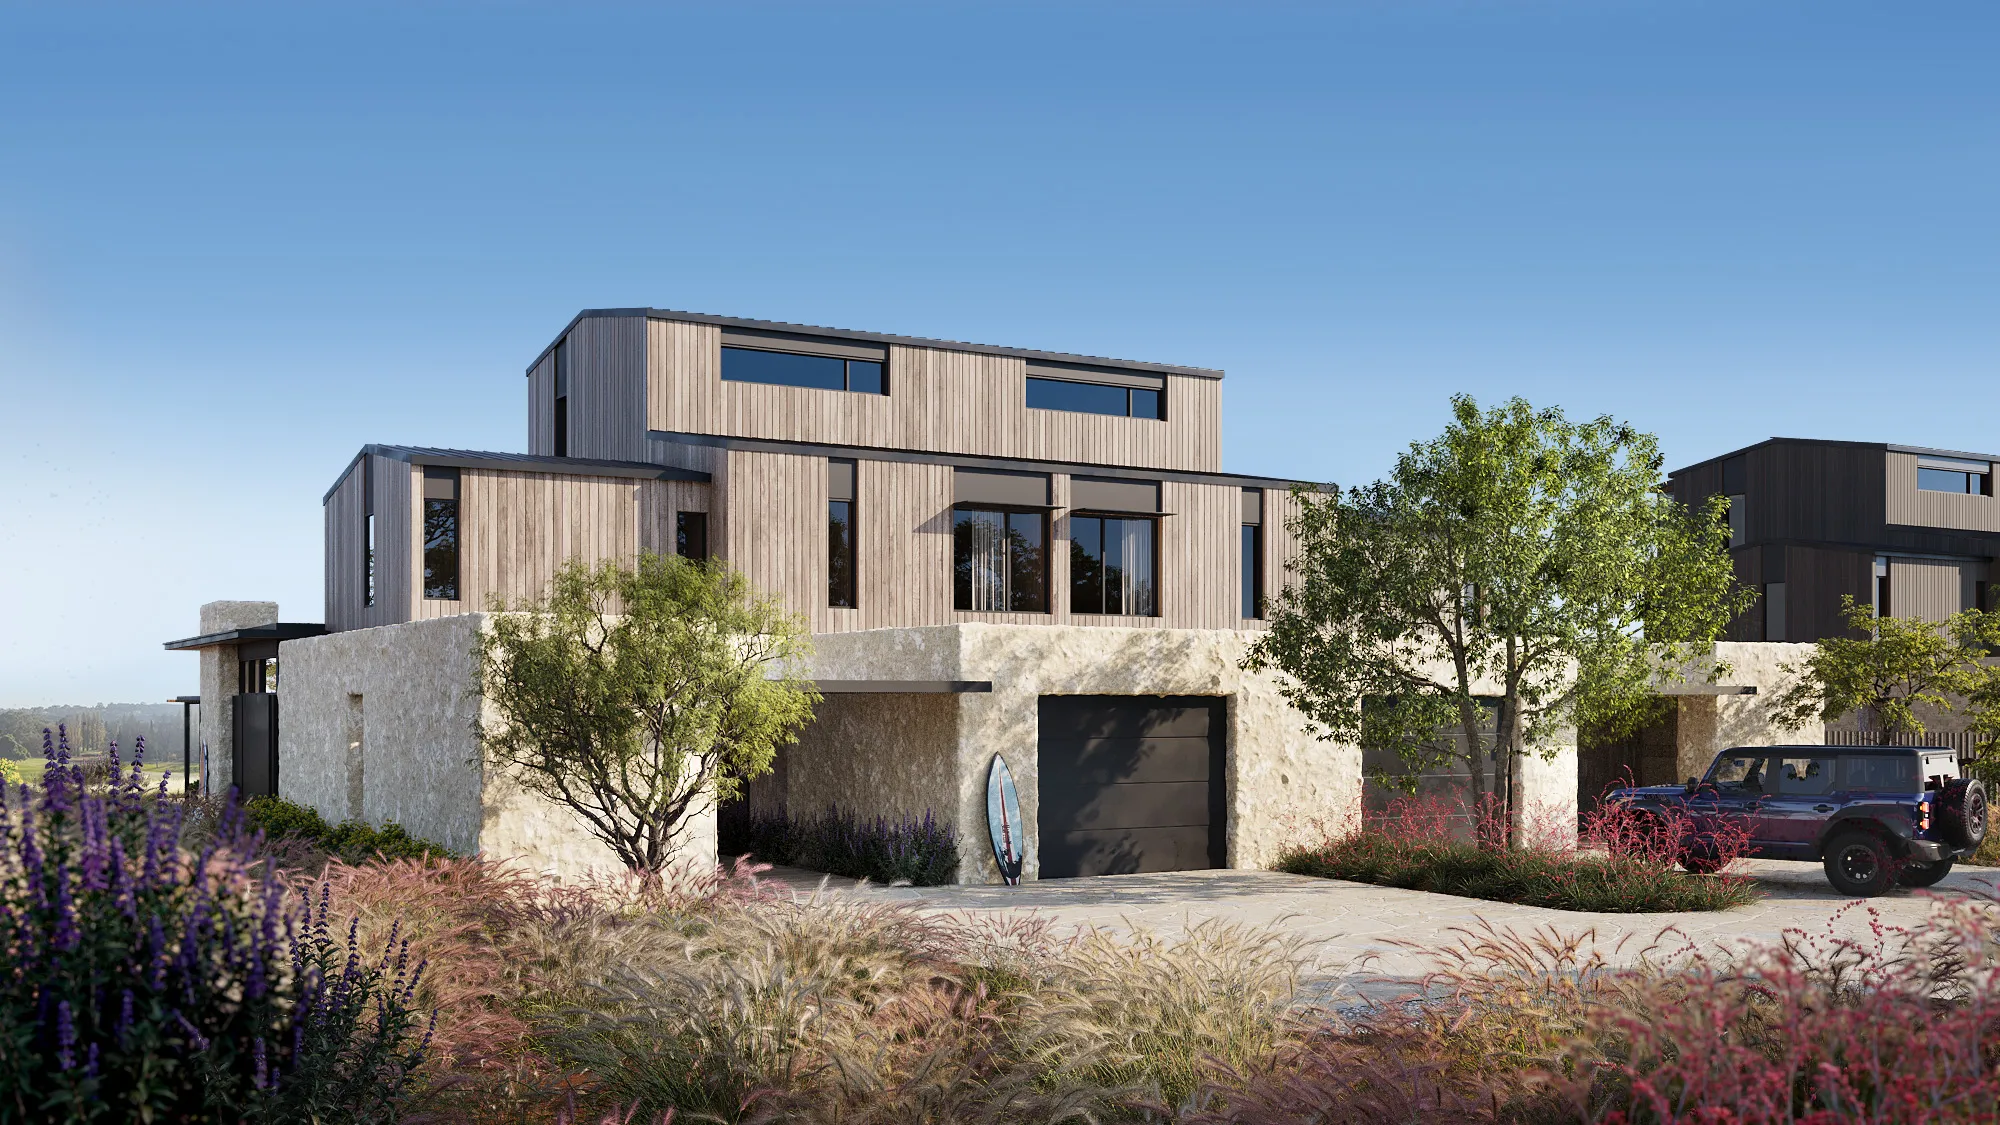
The more telling case is a client who had been running without the gate and then reinstated it. On a fast-moving hospitality development at Austin Surf Club, earlier batches had been produced by skipping the white models to save time. For the new scope, we walked the process back to the full sequence: model first, then a first round of white models to pick the cameras, a second round if the angles were not yet right, and only then the color renderings. On that same project, the client looked at an unusually complex piece of architecture and asked for a white-box model view specifically to confirm the camera angle before committing. When the building is hard to read, the value of seeing it in gray first goes up, not down.
The Same Logic Runs Through the Animation
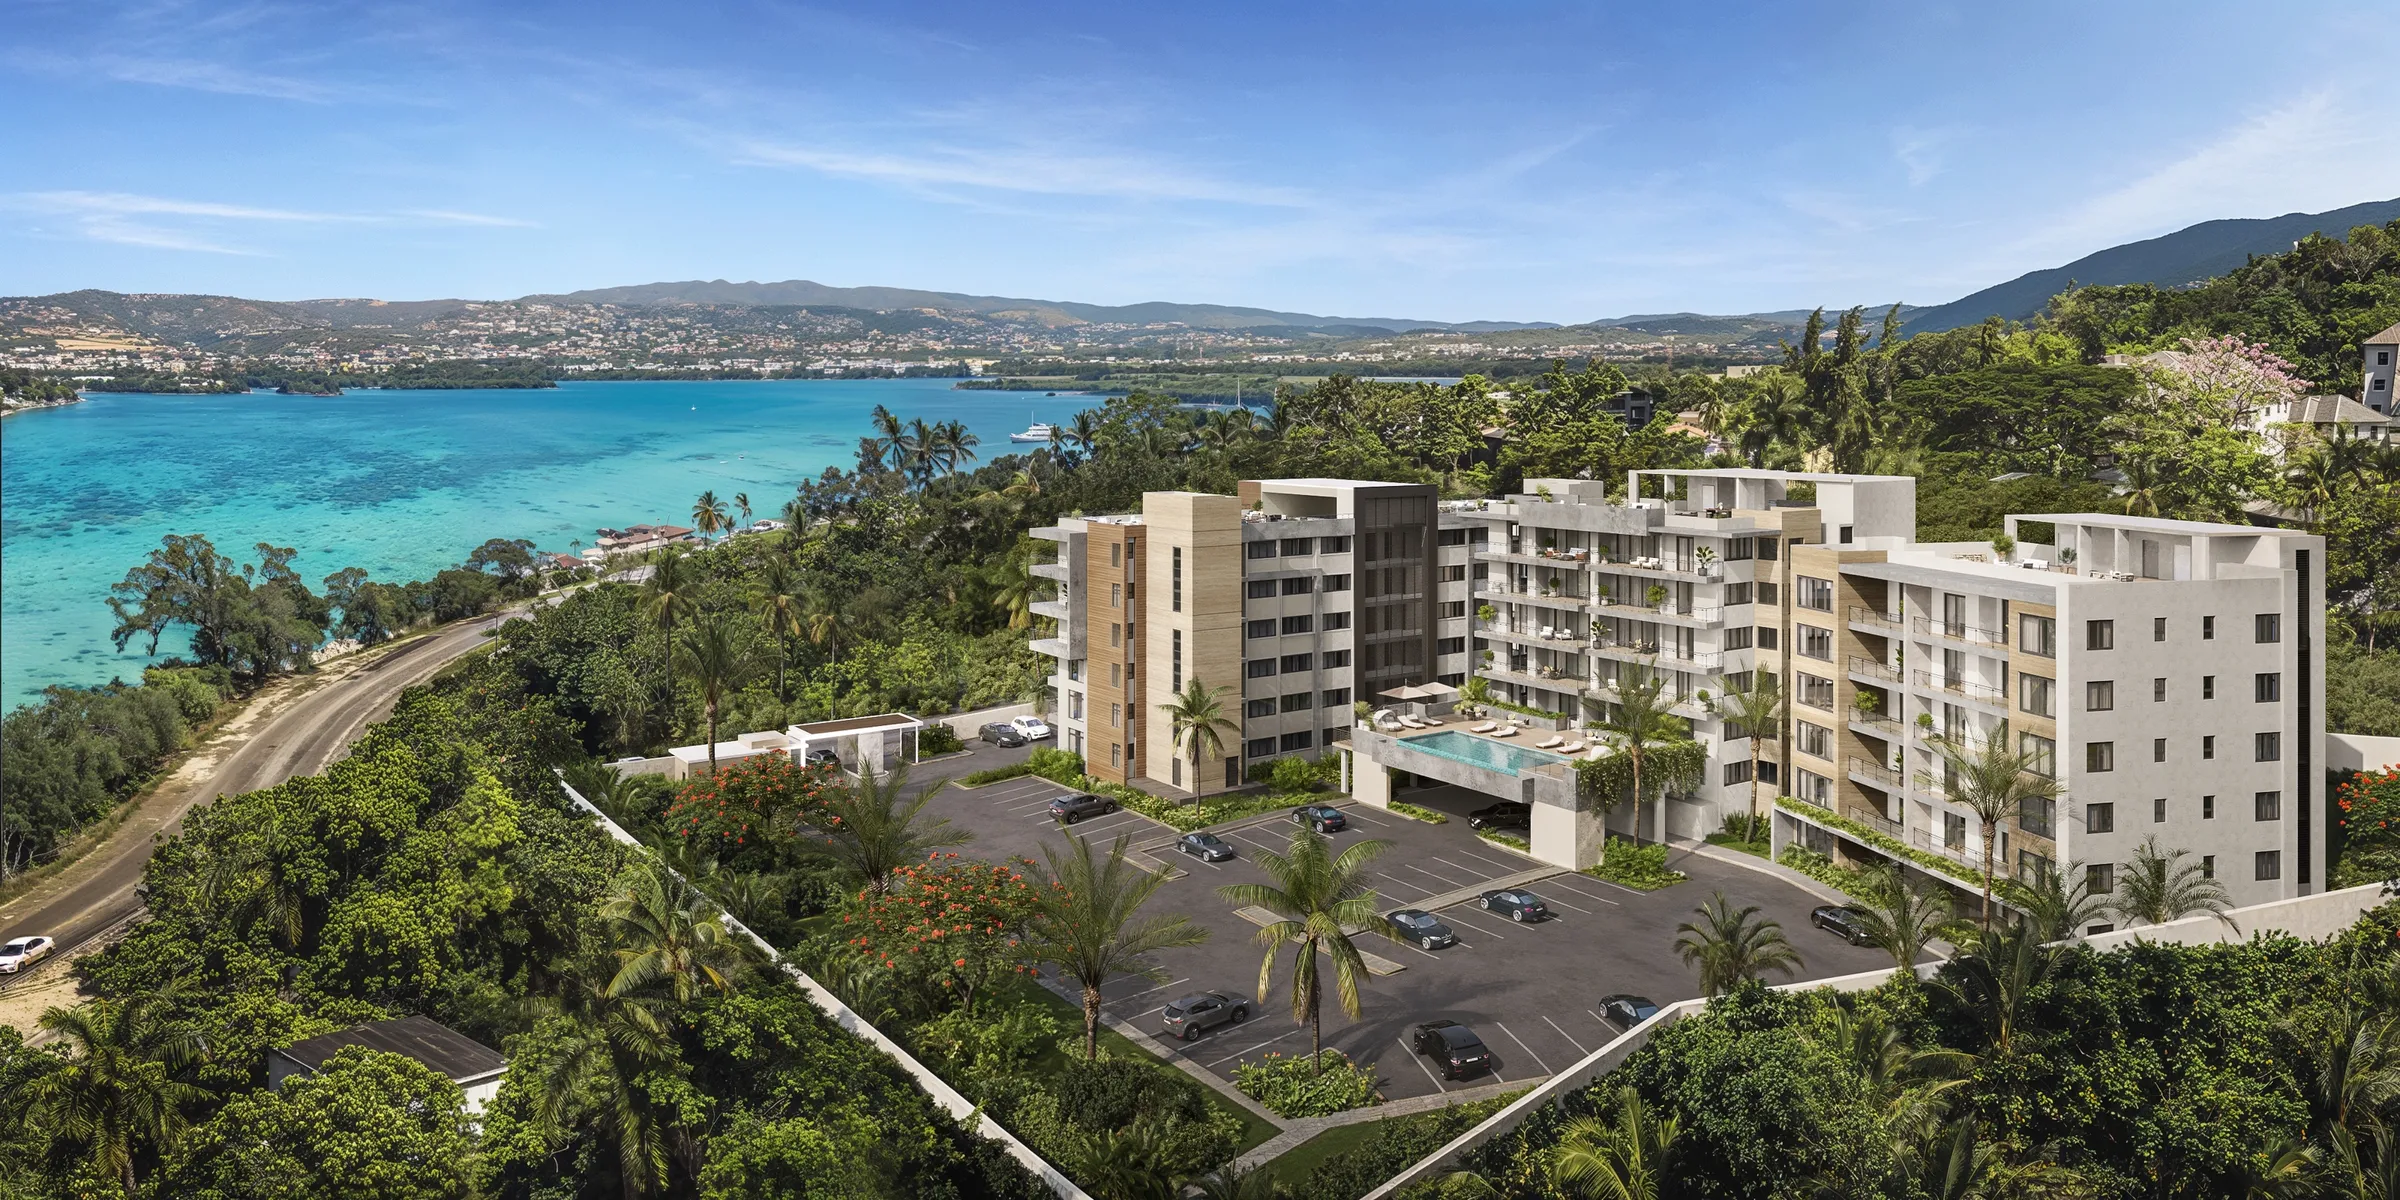
The gate is not only for stills. On a multifamily building, before we render a single finished frame of an animation, we produce the whole thing as a white-model animation so the client can approve the camera movement, the flow, and how the music integrates with the motion. Rendering a full-color animation frame by frame is one of the most compute-heavy things a studio does. Locking the moves in gray first, exactly as we lock the angle on a still, is what keeps a walkthrough from being rendered twice.
All of it comes back to the same principle. The most expensive work in a project should never be the first work you approve. The white model is how a studio makes the cheap decisions cheap and the expensive decisions rare, and it is one of the clearest ways to tell, before you have spent much at all, whether the people you have hired have done this before.
Bringing This to Your Project
If you are briefing a studio, ask a simple question early: will I see and approve the camera angles before you apply color. If the answer is no, or if it is vague, you have learned something important about how the work will run and where the risk sits. If the answer is yes, you know the expensive hours will be spent on a composition you have already agreed to.
For the full picture of where this stage sits, read the architectural visualization process, stage by stage, see how to choose a 3D rendering studio, or look at how the finished work landed on Clear Creek Tahoe and The Elysian in Montego Bay. If you have a project coming up, that is a conversation we are happy to have.