The blog
The architectural visualization blog.
Writing on architectural visualization and real estate marketing. How imagery helps a project sell, get approved, and get funded before it's built.

Latest, Working with a 3D Rendering Studio
Matching a Specific Manufacturer's Material or Finish in 3D
June 5, 2026
When a design specifies an exact product or finish, the rendering has to show that, not an approximation. Here is how a specific material or piece gets matched accurately in 3D, and what we need from you to do it.
Read article-

Working with a 3D Rendering Studio
Working With an Overseas Rendering Studio: NDAs, W-8BEN, and Invoicing
June 5, 2026
-

Real Estate Marketing
Marketing Land or a Lot Before Anything Is Built
June 5, 2026
-

Working with a 3D Rendering Studio
Who Owns the Renders, and When Can You Use Them?
June 5, 2026
-

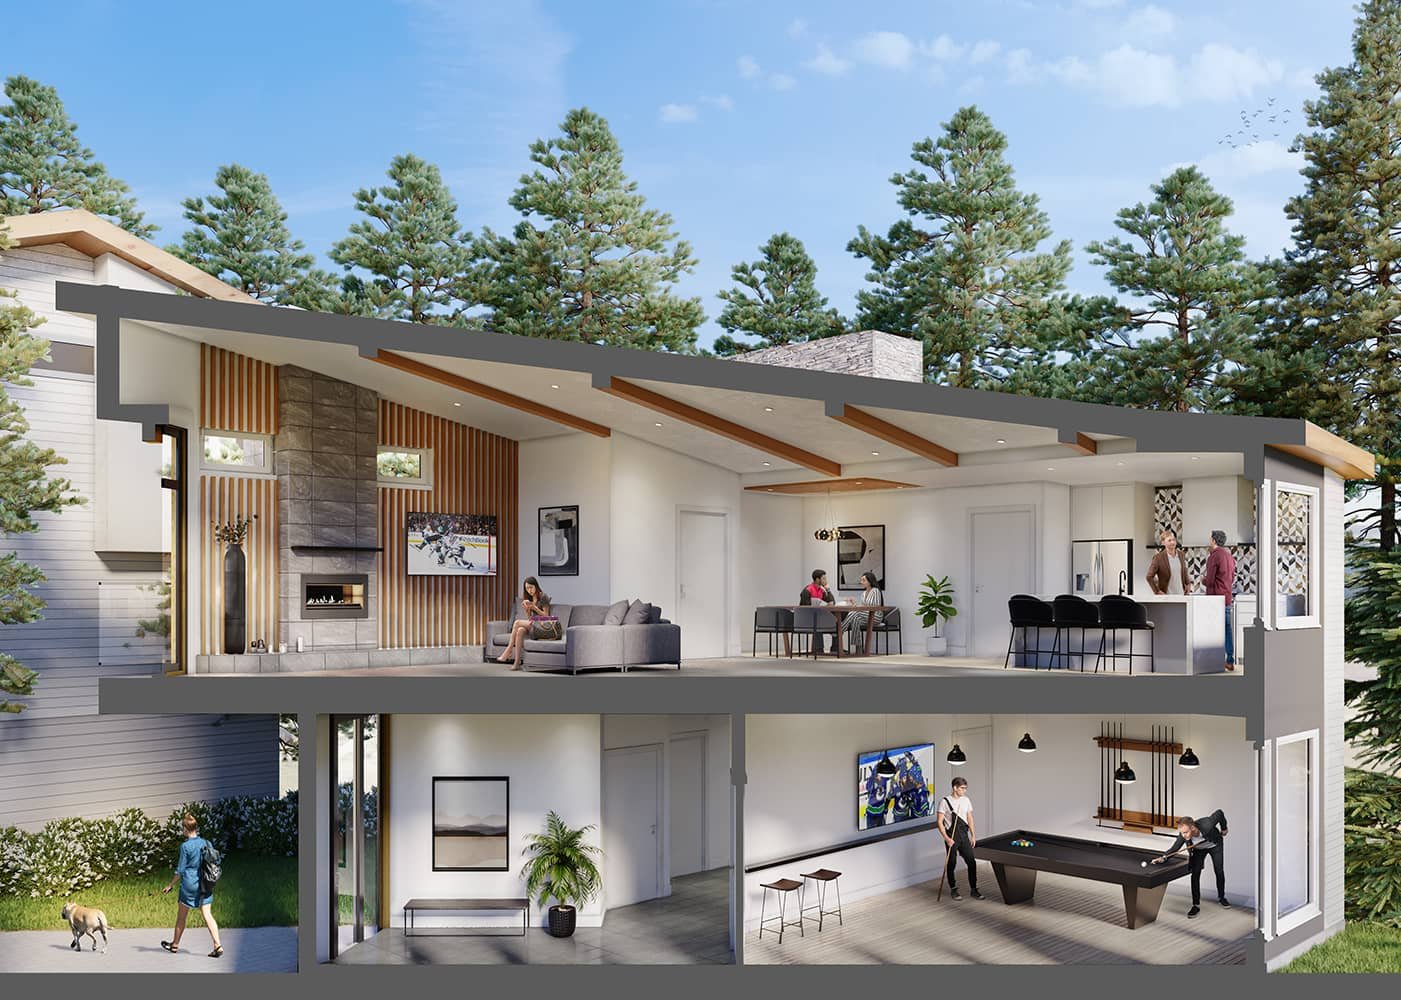
Architecture and Exterior Renderings
Rendering a Property Across Seasons
June 5, 2026
-

Architecture and Exterior Renderings
Day, Dusk, and Night: Why the Same Shot Gets More Than One Version
June 5, 2026
-

Real Estate Marketing
Interactive Finish Selection: Letting Buyers Choose Materials in 3D
June 5, 2026
-

Working with a 3D Rendering Studio
What Files We Need to Start (and Why a PDF Isn't Enough)
June 5, 2026
-
Working with a 3D Rendering Studio
What You Actually Receive: Rendering Deliverables, Formats, and File Rights
June 5, 2026
-

Architecture and Exterior Renderings
Drone Footage and 3D Rendering: Capturing Real-World Context
June 5, 2026
-

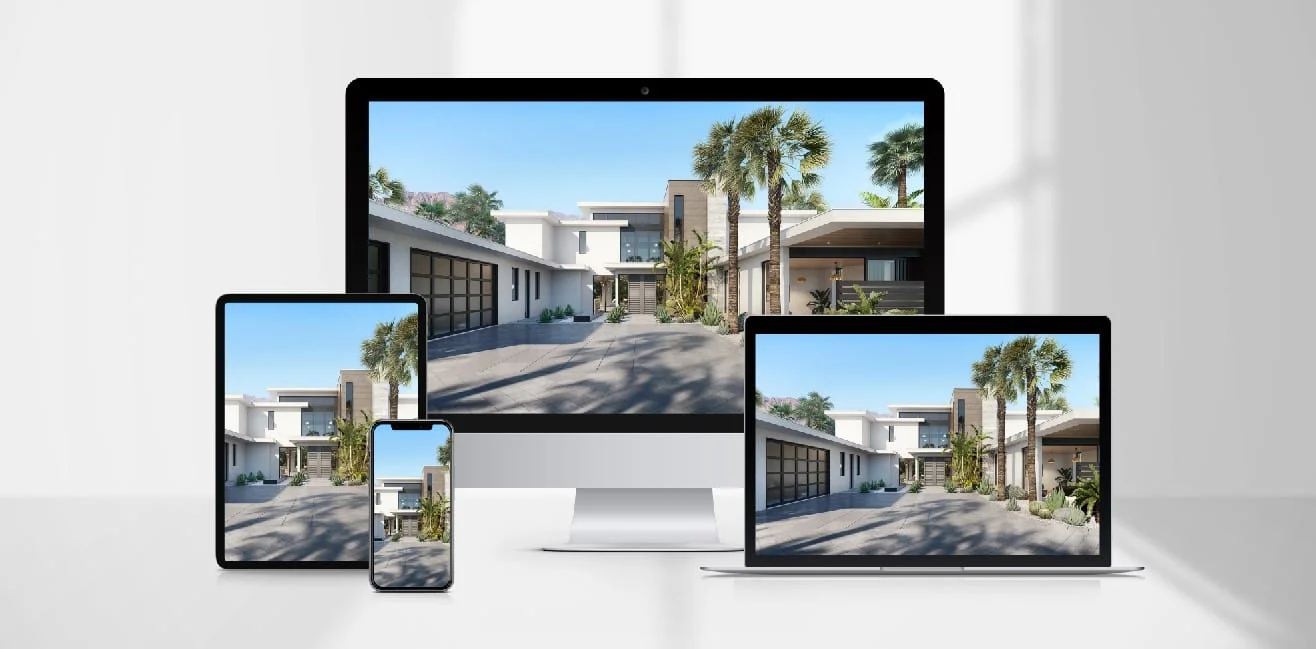
Real Estate Marketing
The Benefits of Virtual Tours for Real Estate
June 5, 2026
-

Working with a 3D Rendering Studio
5 Reasons Why Your Renderings Aren't Selling Your Project
April 22, 2026
-

Working with a 3D Rendering Studio
What Defines Quality in 3D Rendering
April 19, 2026
-

Working with a 3D Rendering Studio
Best 3D Rendering Companies in 2026
February 19, 2026
-
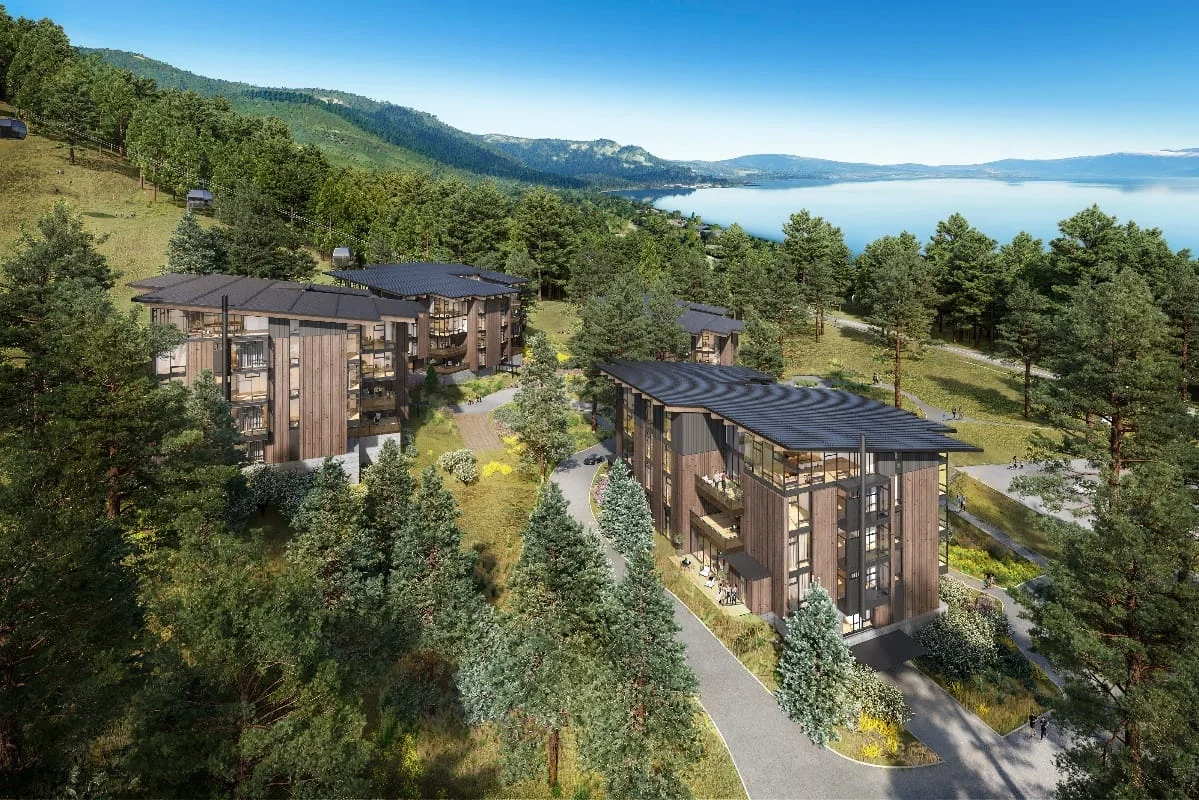
Working with a 3D Rendering Studio
3D Rendering for Real Estate Developers: The Complete 2026 Guide
January 29, 2026
-

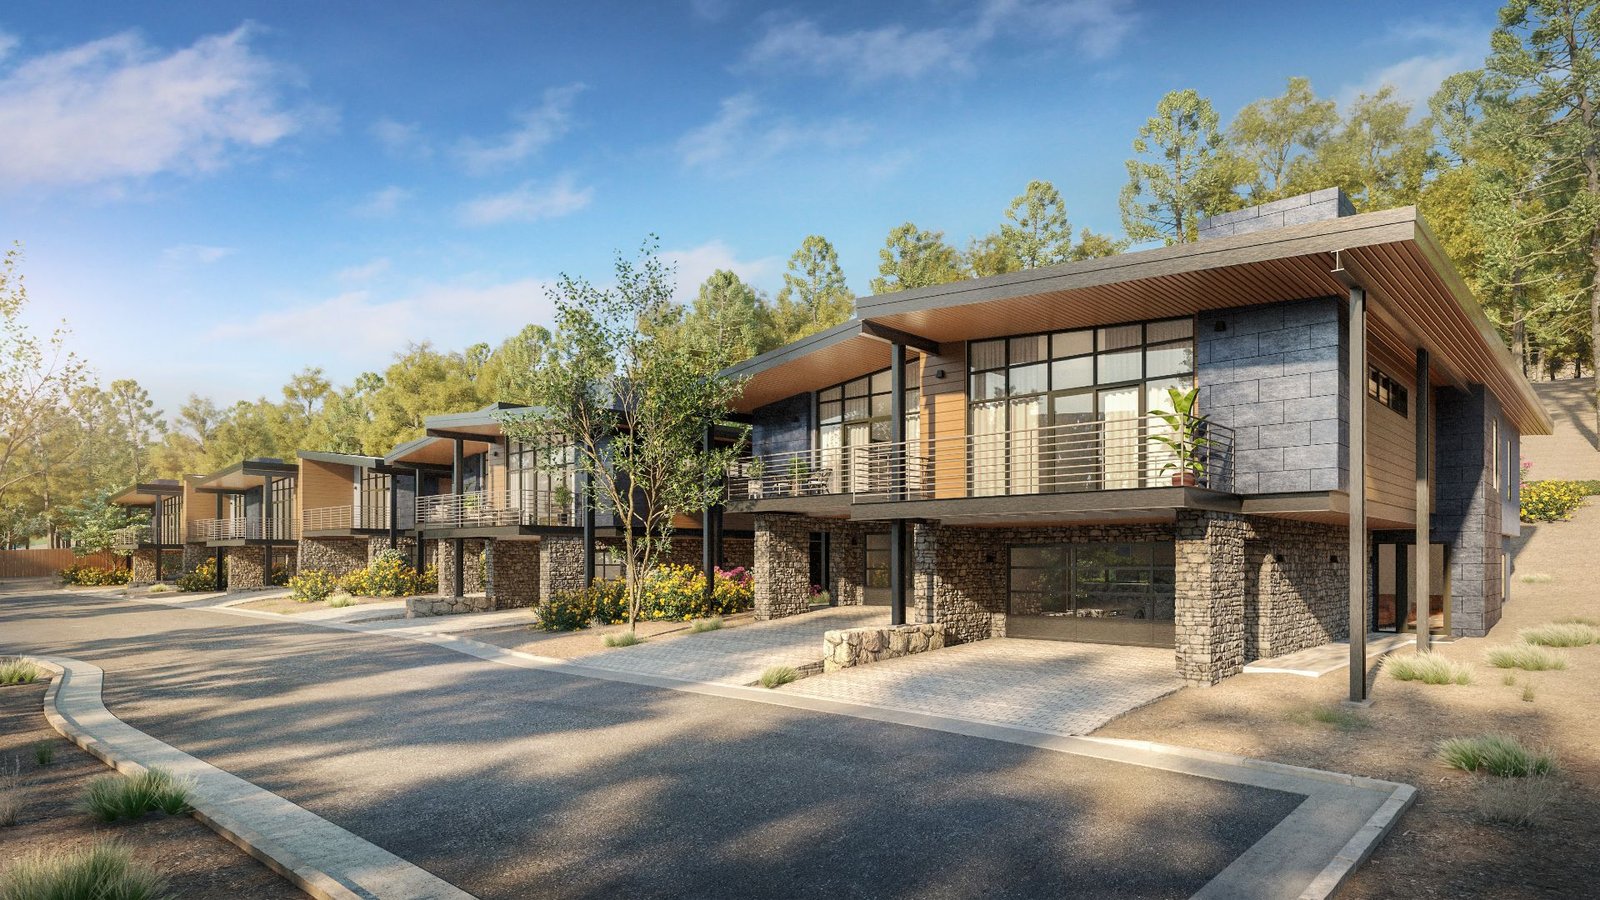
Working with a 3D Rendering Studio
Townhouse & Condo Rendering Packages for Developers (2026 Guide)
January 22, 2026
-

Working with a 3D Rendering Studio
The Real Estate Developer Pre-Sales Toolkit (2026 Edition)
December 11, 2025
-

Working with a 3D Rendering Studio
3D Exterior Rendering vs Interior Rendering: Key Differences & When to Use Each
December 11, 2025
-

Architecture and Exterior Renderings
What Is 3D Exterior Rendering (and How the Process Works)
December 4, 2025
-
Architecture and Exterior Renderings
Architectural Rendering 101: Everything You Need to Know in 2026 & Beyond
December 4, 2025
-

Architecture and Exterior Renderings
AI-Assisted Architectural Animation: Real Results from a Single Render
December 4, 2025
-

Architecture and Exterior Renderings
Top Benefits of 3D Exterior Rendering for Architects and Developers
December 4, 2025
-
Architecture and Exterior Renderings
3D Exterior Rendering for Real Estate Marketing & Sales
December 4, 2025
-

Architecture and Exterior Renderings
Lighting and Environment in 3D Exterior Rendering
December 4, 2025
-

Working with a 3D Rendering Studio
How To Outsource Rendering Services
November 27, 2025
-

Working with a 3D Rendering Studio
The Cost of Renderings – A Complete Guide to 3D Rendering Pricing (2026)
November 27, 2025
-

Architecture and Exterior Renderings
AI for Architects – Innovation & Designing The Future
November 13, 2025
-

Architecture and Exterior Renderings
Everything You Need To Know About Render Farms
November 6, 2025
-
Architecture and Exterior Renderings
Complete Guide to Architectural 3D Modeling & How it Used in Different Areas
November 6, 2025
-
Architecture and Exterior Renderings
Ultimate Render Resolution Guide
November 6, 2025
-

Architecture and Exterior Renderings
Hotel Rendering: Elevating Hotel Design & Hospitality Architecture
June 26, 2025
-

Interior Rendering
Interior Rendering 101 – The Complete Guide
June 26, 2025
-

Architecture and Exterior Renderings
3D Walkthrough Animation vs. Architectural Flythrough Animation
June 26, 2025
-

Working with a 3D Rendering Studio
The Pros and Cons of Outsourcing 3D Rendering
May 21, 2025
-
Working with a 3D Rendering Studio
How Long Does It Take To 3D Render a Home?
May 21, 2025
-

Real Estate Marketing
5 Quick Tips for Real Estate Developer Marketing
May 21, 2025
-

Real Estate Marketing
Luxury Condos: How to Pre-sell with 3D Visualization
May 21, 2025
Bring Your Vision to Life with Expert 3D Rendering
Schedule a call with one of our specialists to discuss your project.